Lets get started!
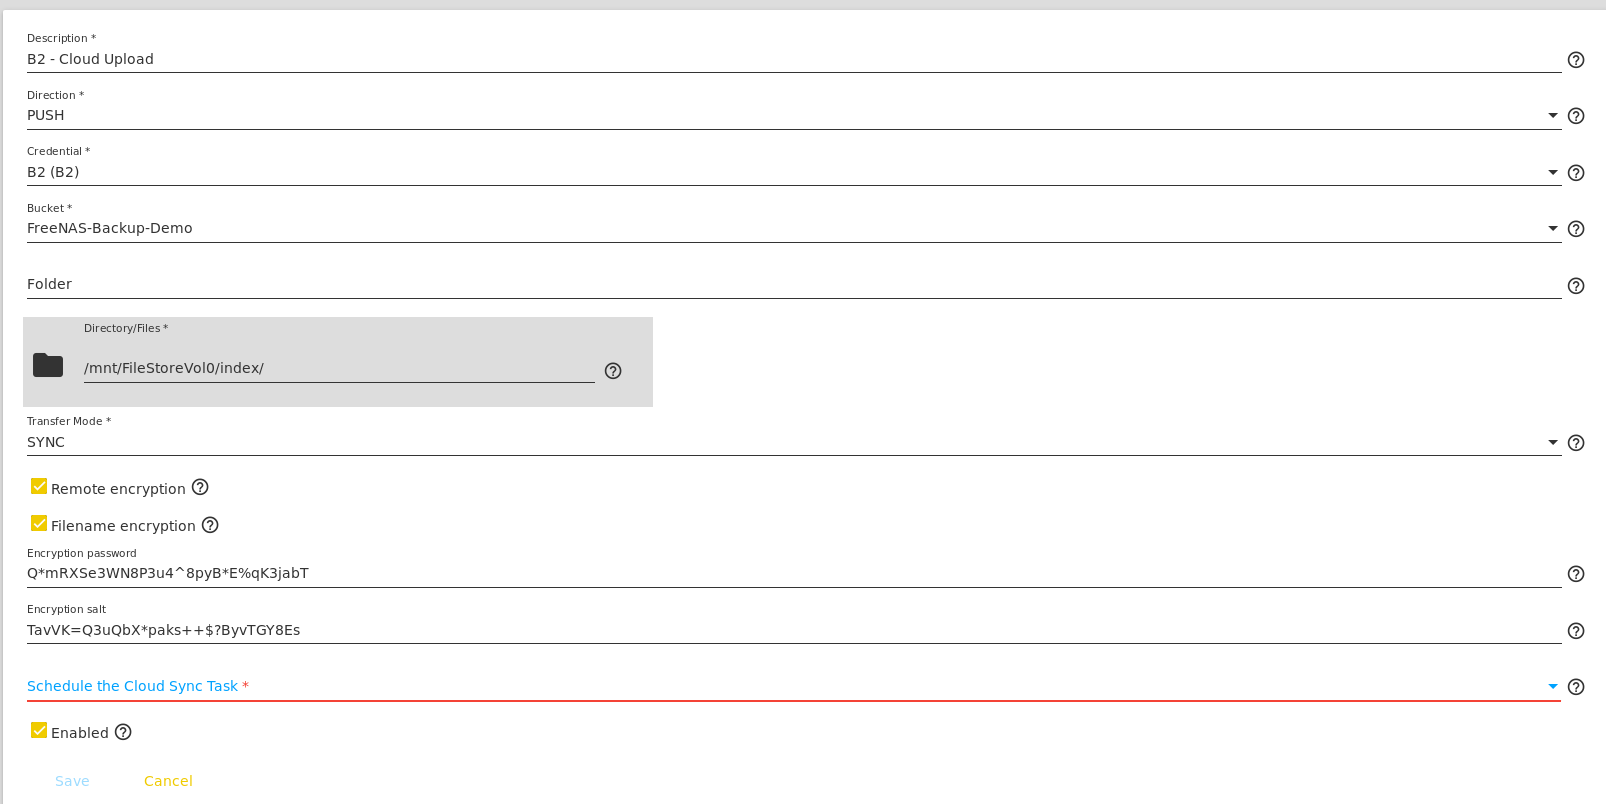
Prerequisites:- Encryption Password and Encryption Salt that were used by FreeNAS when backing up the data. (If you still have access to your FreeNAS, these are available in the FreeNAS WebUI.)
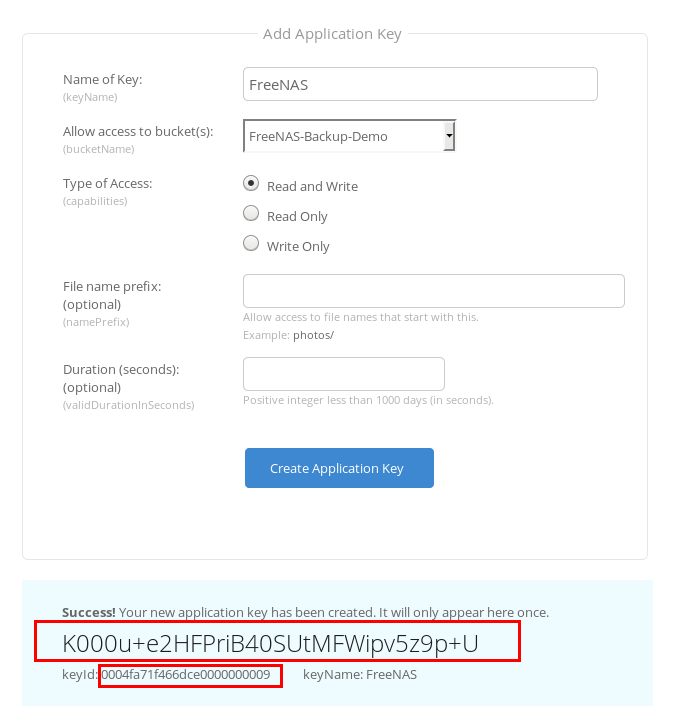
- An Application Key from Backblaze B2. This does not need to be the same key you used to to setup the cloud sync task. You can generate this in the Backblaze interface at recovery time.
- A copy of rclone. It’s available for Windows,macOS, and in the repositories for most Linux distributions.
Adding the Bakblaze B2 Bucket as a remote in rclone
First, run the rclone configuration wizard tool.rclone config
 Select “n” for New remote
Enter a name – I’m using B2-RAW (indicating this is the raw B2 data, which we won’t be able to see since it is encrypted).
Select “n” for New remote
Enter a name – I’m using B2-RAW (indicating this is the raw B2 data, which we won’t be able to see since it is encrypted).
 Enter your Account ID (This is the keyID from Backblaze B2) and your Application Key from Backblaze B2.
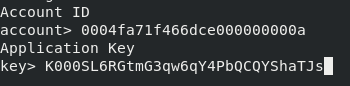 (Account ID/keyID and Application Key are examples that have since been deleted)
You will be asked to enter an endpoint, just leave this blank.
Finally, you will be asked to confirm the entered data. Confirm it looks correct, then select “y” to continue.
(Account ID/keyID and Application Key are examples that have since been deleted)
You will be asked to enter an endpoint, just leave this blank.
Finally, you will be asked to confirm the entered data. Confirm it looks correct, then select “y” to continue.
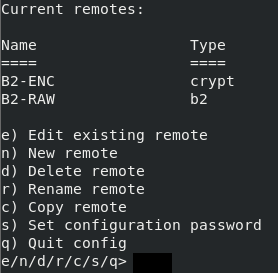
 You should now be presented with a list of your rclone remotes, which should include the B2-RAW we just added. Select “q” to quit the config wizard.
You should be able to run the “rclone ls” command and see a list of encrypted files and filenames.
You should now be presented with a list of your rclone remotes, which should include the B2-RAW we just added. Select “q” to quit the config wizard.
You should be able to run the “rclone ls” command and see a list of encrypted files and filenames.
rclone ls B2-RAW:bucketname/
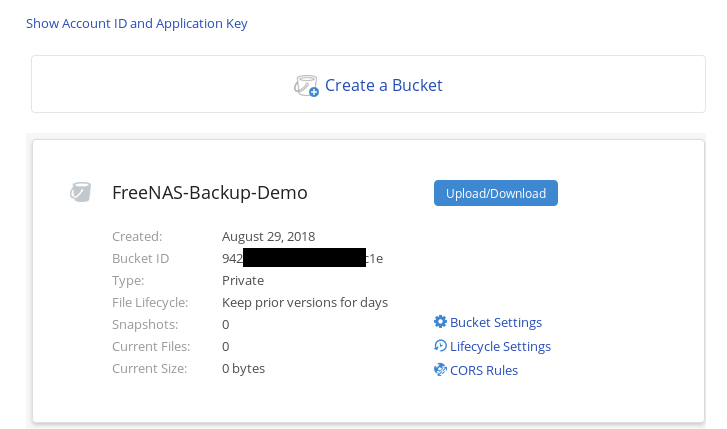
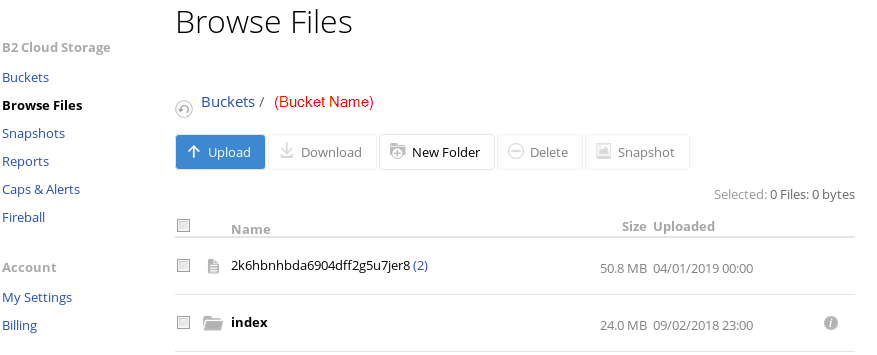
 The result of the “rclone ls” command should match what you see when you login to Backblaze B2 and browse the bucket. It may look like gibberish, but any result is success at this point!
 Make a note of the remote path you used above (B2-RAW:bucketname/ in my case). You will need this in the next step.
Adding the secondary remote to decrypt files and filenames
Almost there, time to decrypt the files in preparation for retrieval. First, add another rclone remote (This time as the Encrypted type).rclone configSelect “n” for New remote Enter a name – I’m using B2-ENC to differentiate from the other B2 remote Select your Remote Type – it should be “Encrypt/Decrypt a remote”. As of the time of this writing, that is option 5.
 Enter the remote path you used above (B2-RAW:bucketname/ in my example). This tell rclone what to decrypt.
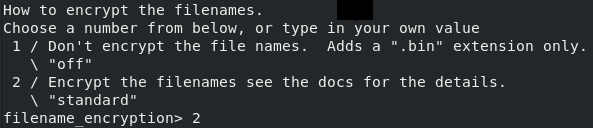
 Next, tell B2 how you encrypted filenames. If you chose to encrypt filenames in your FreeNAS setup, choose option 2. If you didn’t encrypt filenames, choose option 1.
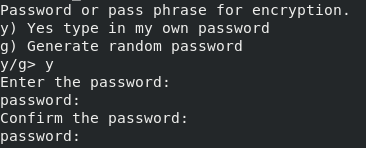
 For the next step, you will want to enter your own encryption passphrase, since you already created this when you setup the encrypted backup. Enter the encryption passphrase used by FreeNAS when backing up the data.
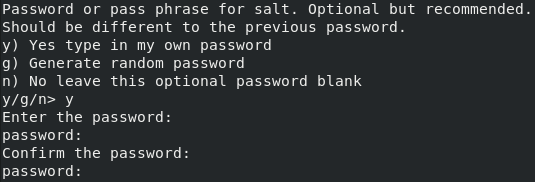
 Next, enter the salt you used when encrypting data in FreeNAS (you will need to select ‘y’ to indicate you have an existing salt). Entering the salt is optional, so if you chose not to use a salt then leave it blank.
 Finally, you will be asked to confirm the entered data. Confirm it looks correct, then continue.
 You should now be presented with a list of your rclone remotes, which should include the B2-RAW we just added. Select “q” to quit the config wizard.
 Run the rclone ls command on your new remote, you should now see your data!
rclone ls B2-ENC:

Retrieving data from Backblaze B2
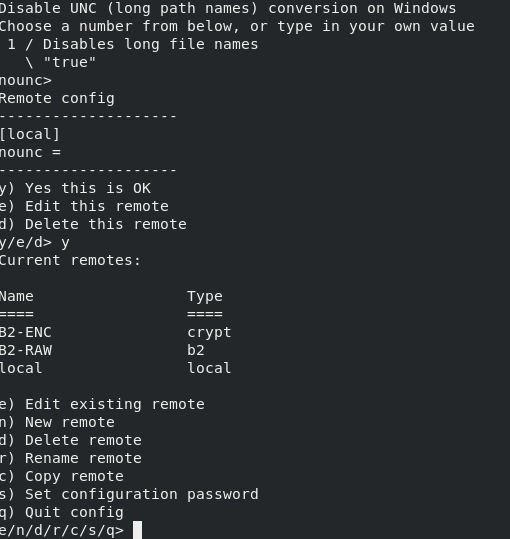
The final portion of this process is to actually recover the data to a local device. To do this you will need to setup yet another rclone remote, this one pointing to the local system. Run rclone config again, select “Local Disk” for the remote type (option 9 as of the time of this writing). If you are recovering to a Windows system, you will want to chose the option to disable long filenames support. Otherwise you can leave blank.
 Time to copy down some files!
To copy a single named file:
rclone copy B2-ENC:/(filename) local:/(path)
 If the source you specify is a directory, rclone will pull down all the files on that directory. If you are pulling down a lot of files, I recommend using the -v switch so you can track the process. Also note that if the specified source path is a directory, rclone will pull down all files and subdirectories.
rclone copy -v B2-ENC:/(folder path) local:/(folder path)